Application
1 - Preparing the sub-base to receive a Gyvlon Screed product ®

- Gyvlon Screed products should only be laid on a suitable, well prepared substrate®
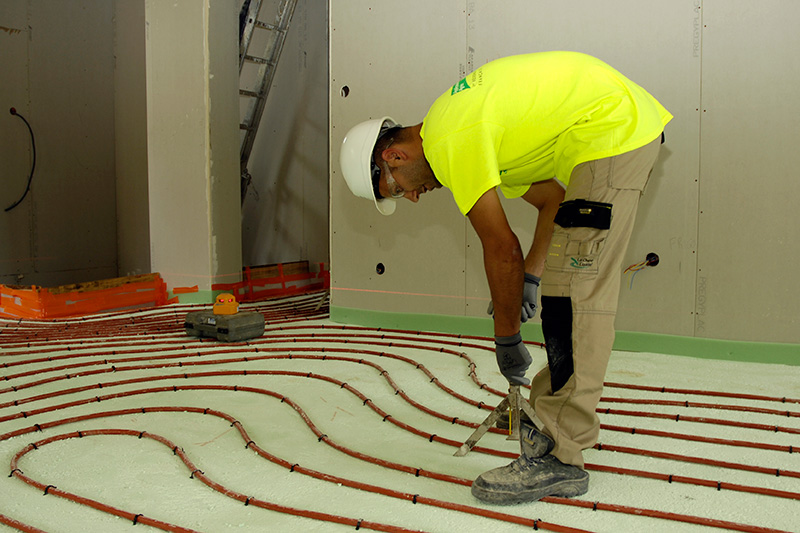
- Screed can be laid either bonded to the substrate or over a separating polythene layer. The separation layer can be thermal or acoustic insulation. Underfloor heating is recommended with a minimum of 25mm insulation and pipe tubs to be clipped down.
- Edge strips are recommended around perimeters, hard standings or pipes and joints placed where appropriate.
- Screed height can be established by laser level from a datum and tripods across the floor
2 - Pouring

- Delivery and quality control of the screed
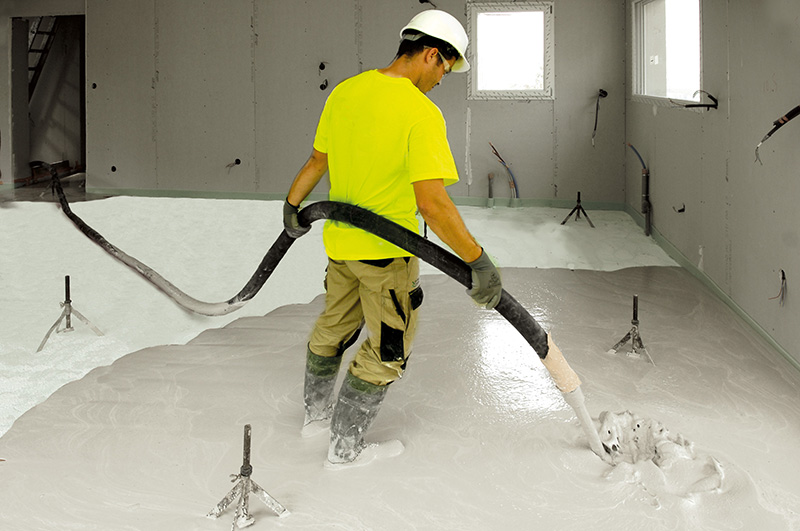
- Pouring the screed
Very fast, easy to install and delivered ready-mixed. Both labour and time are reduced, compared with traditional screeds, with no waste on site.
3 - Screed surface finish
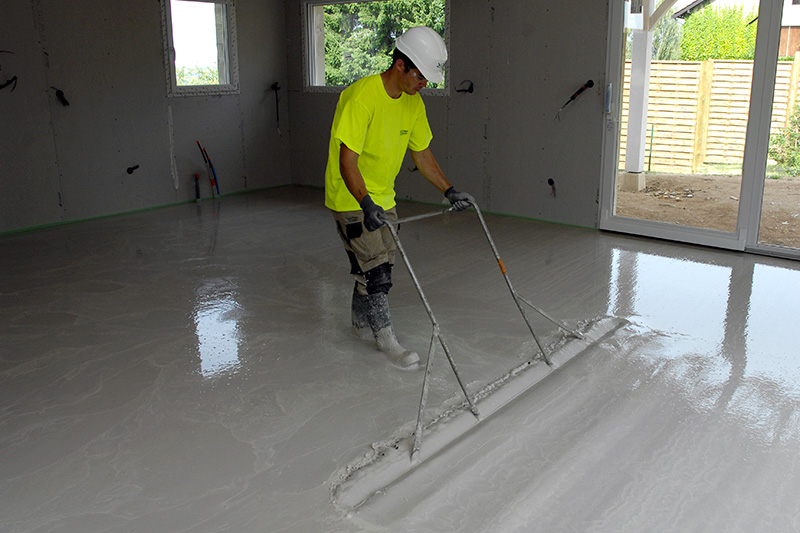
 Surface finish by dappling.
- The screed surface is simply dappled and left to set. The screed is then accessible from 24 hours after pouring.
- Once clean and dry, Gyvlon Screed is the ideal levelling medium for the floor finish, allowing all surface finishes. Gyvlon Screed ensures the highest quality and sustainability and delivers in terms of thermal comfort, time, and of course price.
- Standard Gyvlon screeds (ECO, XTR, THERMIO & FINIO) should be sanded after ideally 3 to 10 days post Standard Gyvlon screeds (ECO, XTR, THERMIO & FINIO) should be sanded after ideally 3 to 10 days post installation (timing dependent on the site conditions) to open up the surface and remove any loose friable material that may have formed to aid the drying process of the screed.
- ADVANCED Gyvlon Screeds with E2C - Do NOT require sanding at 3-10 Days post installation because they do not produce loose friable laitance.


